Want to grow microgreens at home? Learn the easiest microgreens to grow and get started with your own mini garden.
What are microgreens?
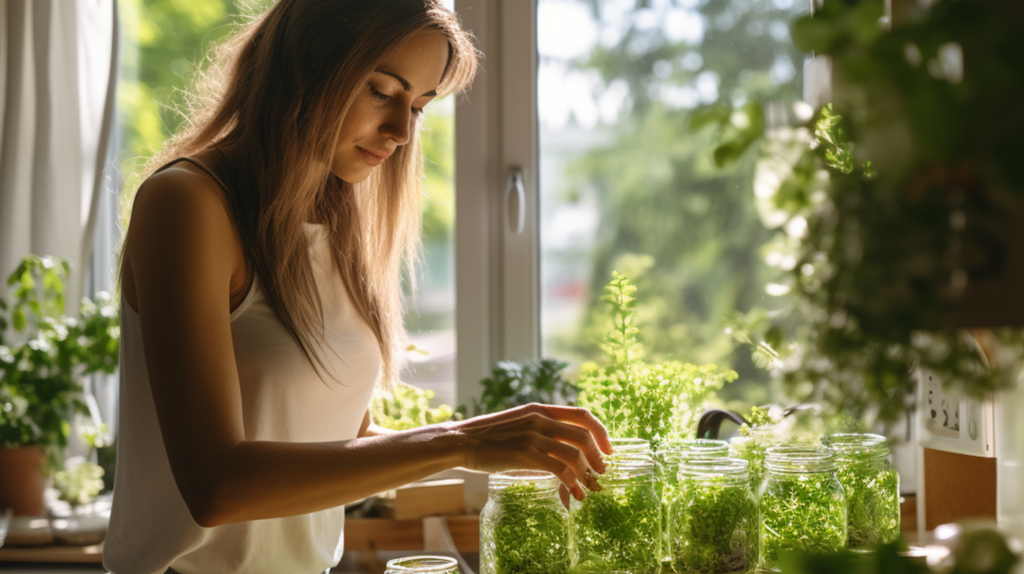
Microgreens are young, nutrient-packed greens that are harvested just after sprouting. They offer numerous health benefits and are incredibly easy to grow at home, making them perfect for beginners. In this guide, we will explore how to choose the easiest microgreens to grow and provide step-by-step instructions for cultivating them.
Selecting the Right Microgreens:
When starting out with microgreens, it’s important to choose varieties that are simple to grow and quick to harvest. Here are five microgreens that are ideal for beginners.
Pea Shoots:
Tender and slightly sweet pea shoots are a great choice for beginners.
Growing Tips: Soak seeds for a few hours, sow densely, and provide support as they grow taller.
Sunflower Shoots:
Sunflower shoots have a nutty flavor and are packed with vitamins.
Growing Tips: Pre-soak seeds, sow densely, and provide ample sunlight or artificial light.
Radish Microgreens:
Radish microgreens add a spicy kick to dishes and grow rapidly.
Growing Tips: Sow seeds evenly, mist frequently, and harvest when the first true leaves develop.
Beet Microgreens:
Vibrant red beet microgreens have a slightly earthy taste and are rich in antioxidants.
Growing Tips: Sow thickly, water gently, and keep the growing medium slightly damp.
Cress Microgreens:
Cress microgreens add a peppery taste and are one of the fastest-growing options.
Growing Tips: Scatter seeds evenly, keep them moist, and harvest when they reach 3-5 inches tall.
Preparing the Growing Environment
To ensure successful growth, create an optimal environment for your microgreens:
Choosing the Ideal Location: Select a spot with ample light, preferably near a window. Consider using artificial grow lights for consistent lighting conditions.
Setting up Grow Lights: Install full-spectrum LED grow lights at the appropriate height for seedlings. Provide 14-16 hours of light per day to mimic sunlight.
Selecting Containers and Planting Medium: Use shallow trays or seedling trays with drainage holes. Opt for a soilless medium such as coconut coir or vermiculite for better drainage.
Planting and Growing Microgreens
Now that you have assembled your setup, it’s time to plant and grow your microgreens:
Sowing Microgreen Seeds: Sow seeds densely and evenly over the planting medium. Gently press the seeds into the medium and mist with water.
Watering Techniques: Use a spray bottle or a watering can with a fine mist to water your microgreens. Water the tray evenly, ensuring that the soil remains moist but not waterlogged. Avoid overwatering, as it can lead to mold or root rot.
Maintaining Proper Humidity Levels: Cover the tray with a clear lid or plastic wrap to trap moisture and create a humid environment during germination. Once the seeds have sprouted, remove the cover to prevent excessive moisture build-up.
Managing Temperature and Sunlight Exposure: Maintain a temperature between 60-75°F (15-24°C) for optimal growth. Place the tray in a well-ventilated area away from drafts. Rotate the tray daily to ensure even light exposure and prevent leggy growth.
Harvesting and Using Microgreens
With proper care, your microgreens will be ready for harvest in just a few weeks. Follow these steps:
Identifying the Right Time to Harvest: Wait until the microgreens have developed their first pair of true leaves. The cotyledons (seed leaves) will usually fall off or yellow before this stage.
Proper Harvesting Techniques: Use clean scissors or a sharp knife to cut the microgreens just above the soil level. Gently wash the harvested microgreens and pat them dry with a paper towel.
Storing Harvested Microgreens: Store microgreens in an airtight container or a plastic bag with a paper towel to absorb moisture. Keep them in the refrigerator for up to a week, but they are best enjoyed fresh.
Culinary Uses and Incorporating Microgreens into Meals: Add microgreens to salads, sandwiches, wraps, or as a garnish for main dishes. Experiment with different flavors and combinations to enhance the taste of your meals.
Troubleshooting Common Issues
Microgreens can face a few issues during the growing process. Here’s how to handle them.
Identifying and Addressing Pest Problems: Inspect your plants regularly for signs of pests like aphids or fungus gnats. Use organic pest control methods such as neem oil or insecticidal soap.
Preventing Mold Growth in Microgreens: Ensure proper air circulation to prevent mold formation. Avoid overwatering and remove any decaying leaves promptly.
Recognizing and Managing Nutrient Deficiencies: Watch for yellowing or discoloration of leaves, which can indicate nutrient deficiencies. Adjust the pH level of your growing medium and provide a balanced organic fertilizer if necessary.
Growing easy microgreens at home is a rewarding and straightforward process, especially for beginners. By selecting the right microgreens, preparing the growing environment, and following proper planting and cultivation techniques, you can enjoy the benefits of fresh and nutritious microgreens in your own kitchen. Experiment with different varieties, get creative with your culinary creations and enjoy the satisfaction of growing your own delicious greens. Happy gardening!